Hasegawa 1:200 TWA Tristar Restoration
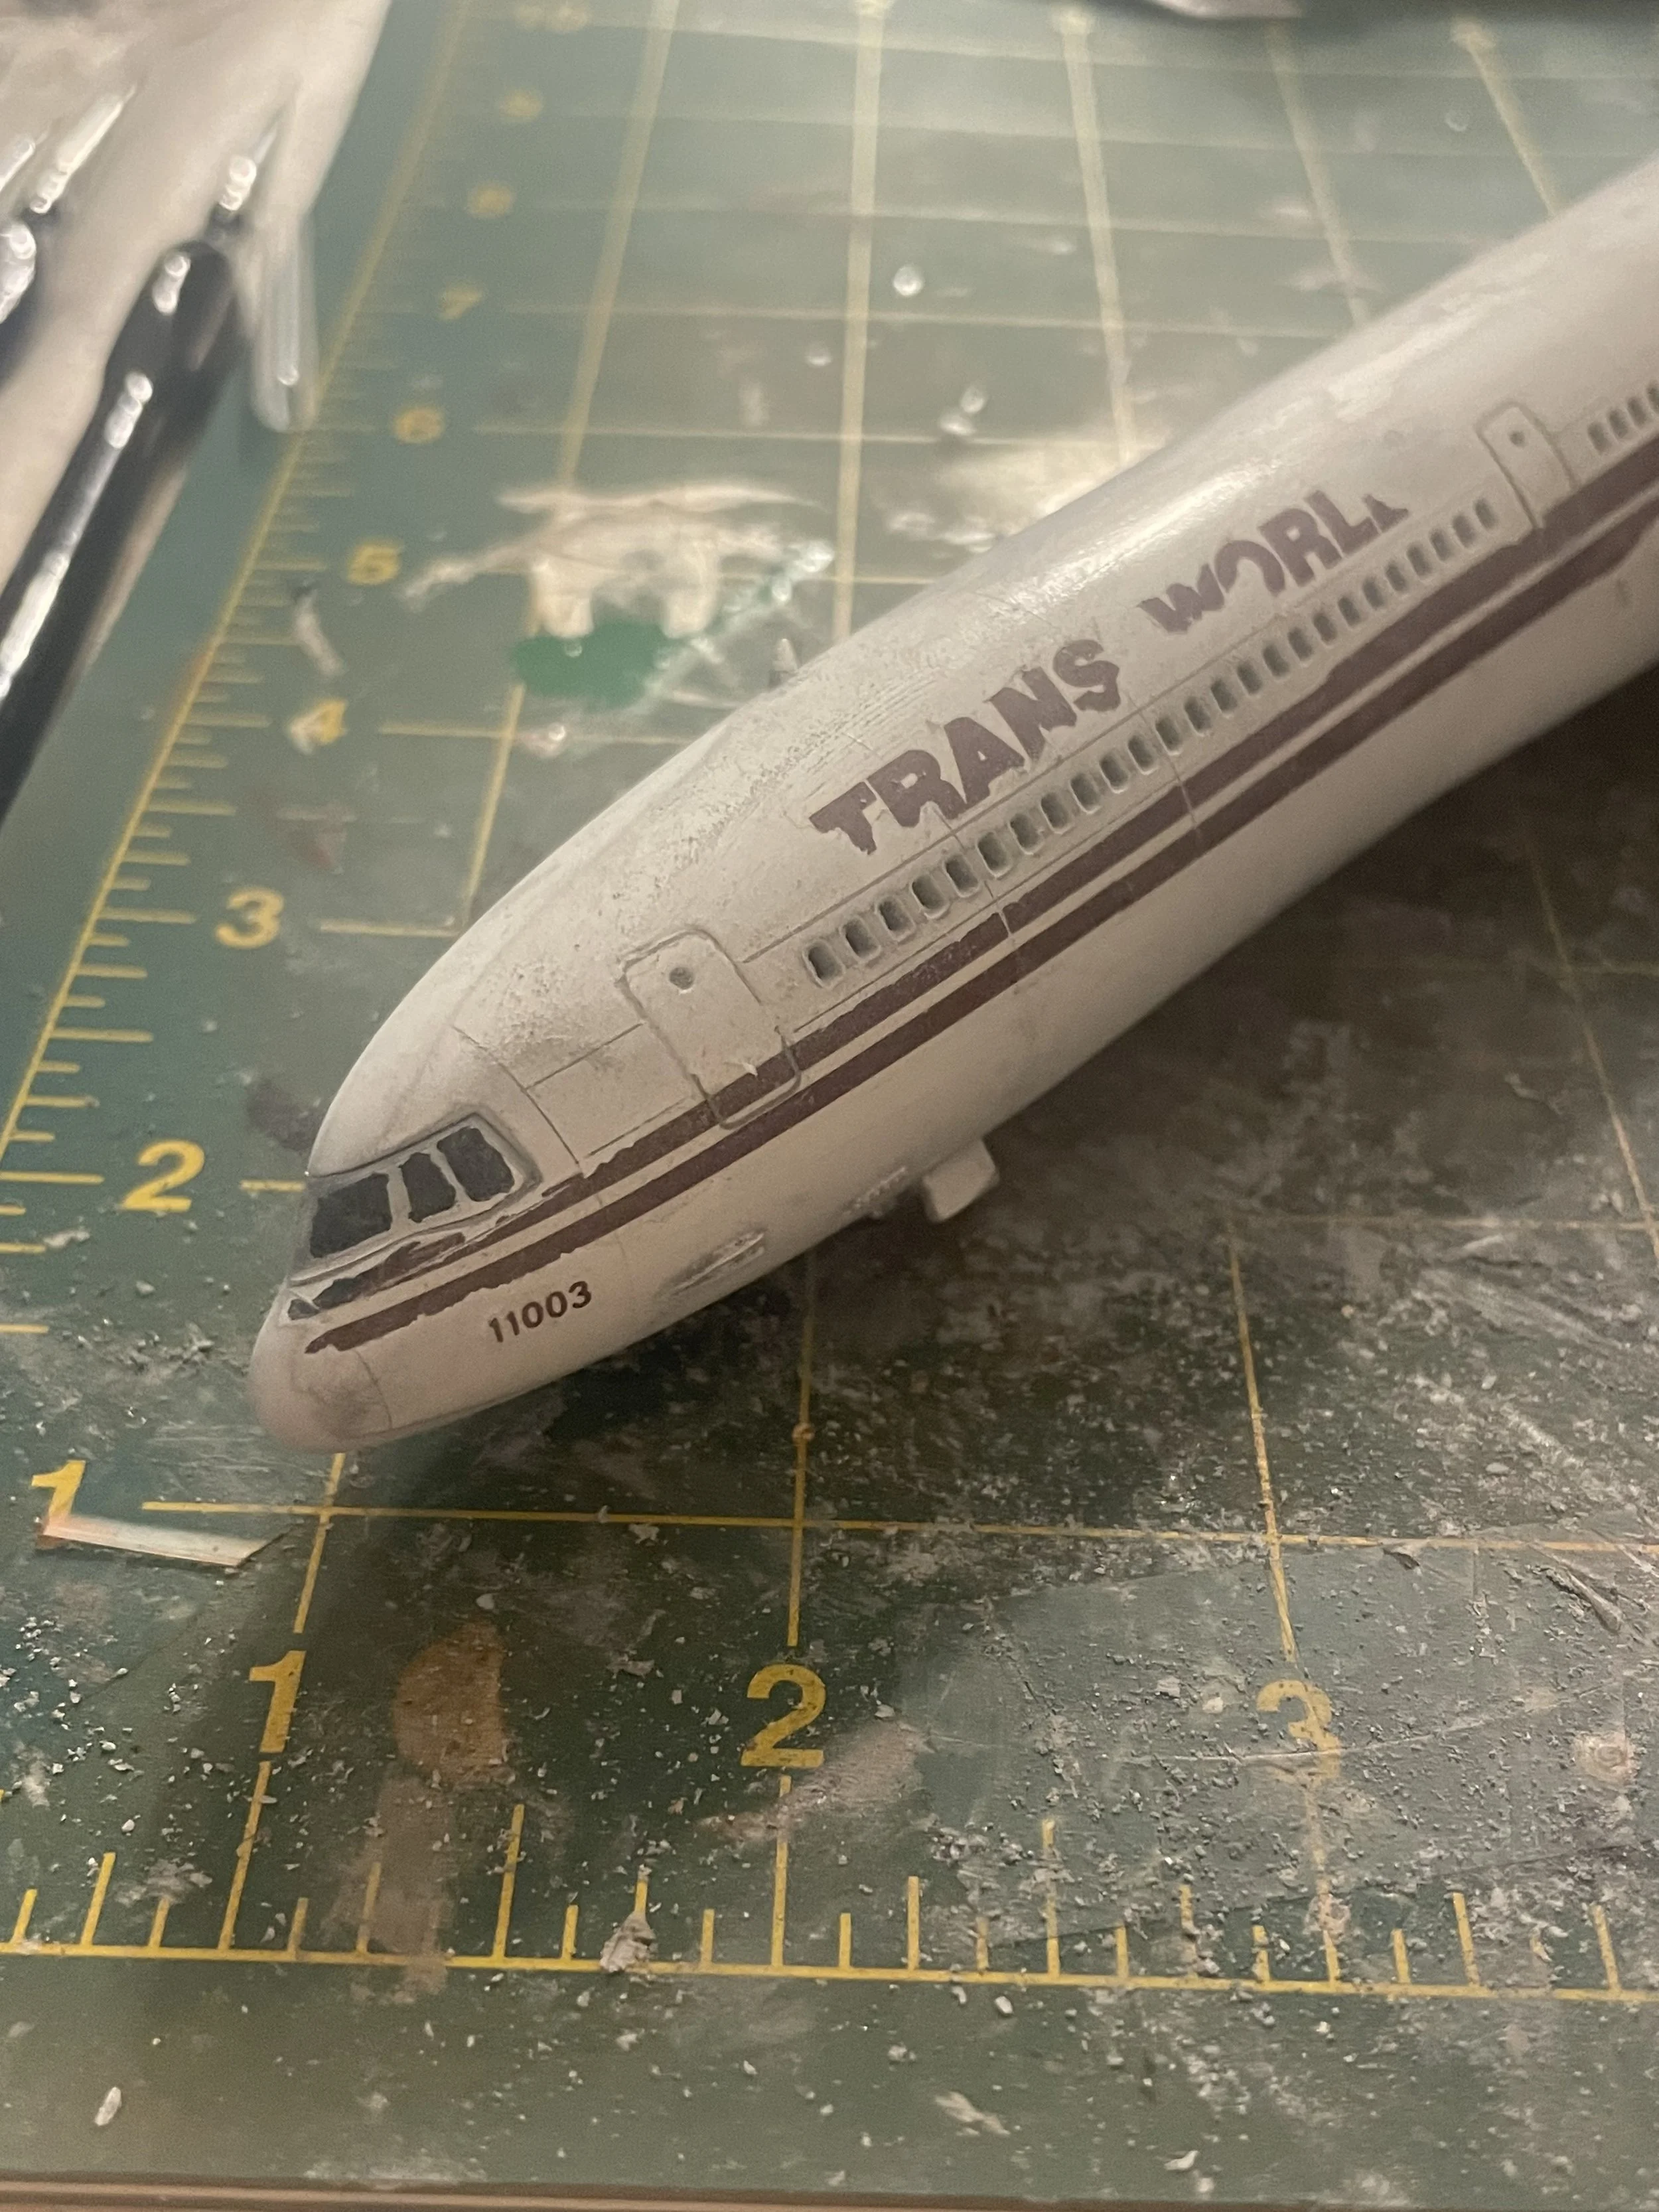
A photo of the Tristar circa 2019. The kit was already 40 years old at that time, and the quality of the decals and plastic parts had decayed from open exposure before the kit was even built. You can already see yellowing and chipping on the decals, and misfitting warped plastic parts.
Here is the kit when I went to restore it in 2025. The decals had almost completely failed, and various parts had warped to the point of breaking like the exhaust tailcone and horizontal stabilizers.
I started with sanding and eliminating seems with autobody filler, to fix the warped and mismatched fuselage parts.
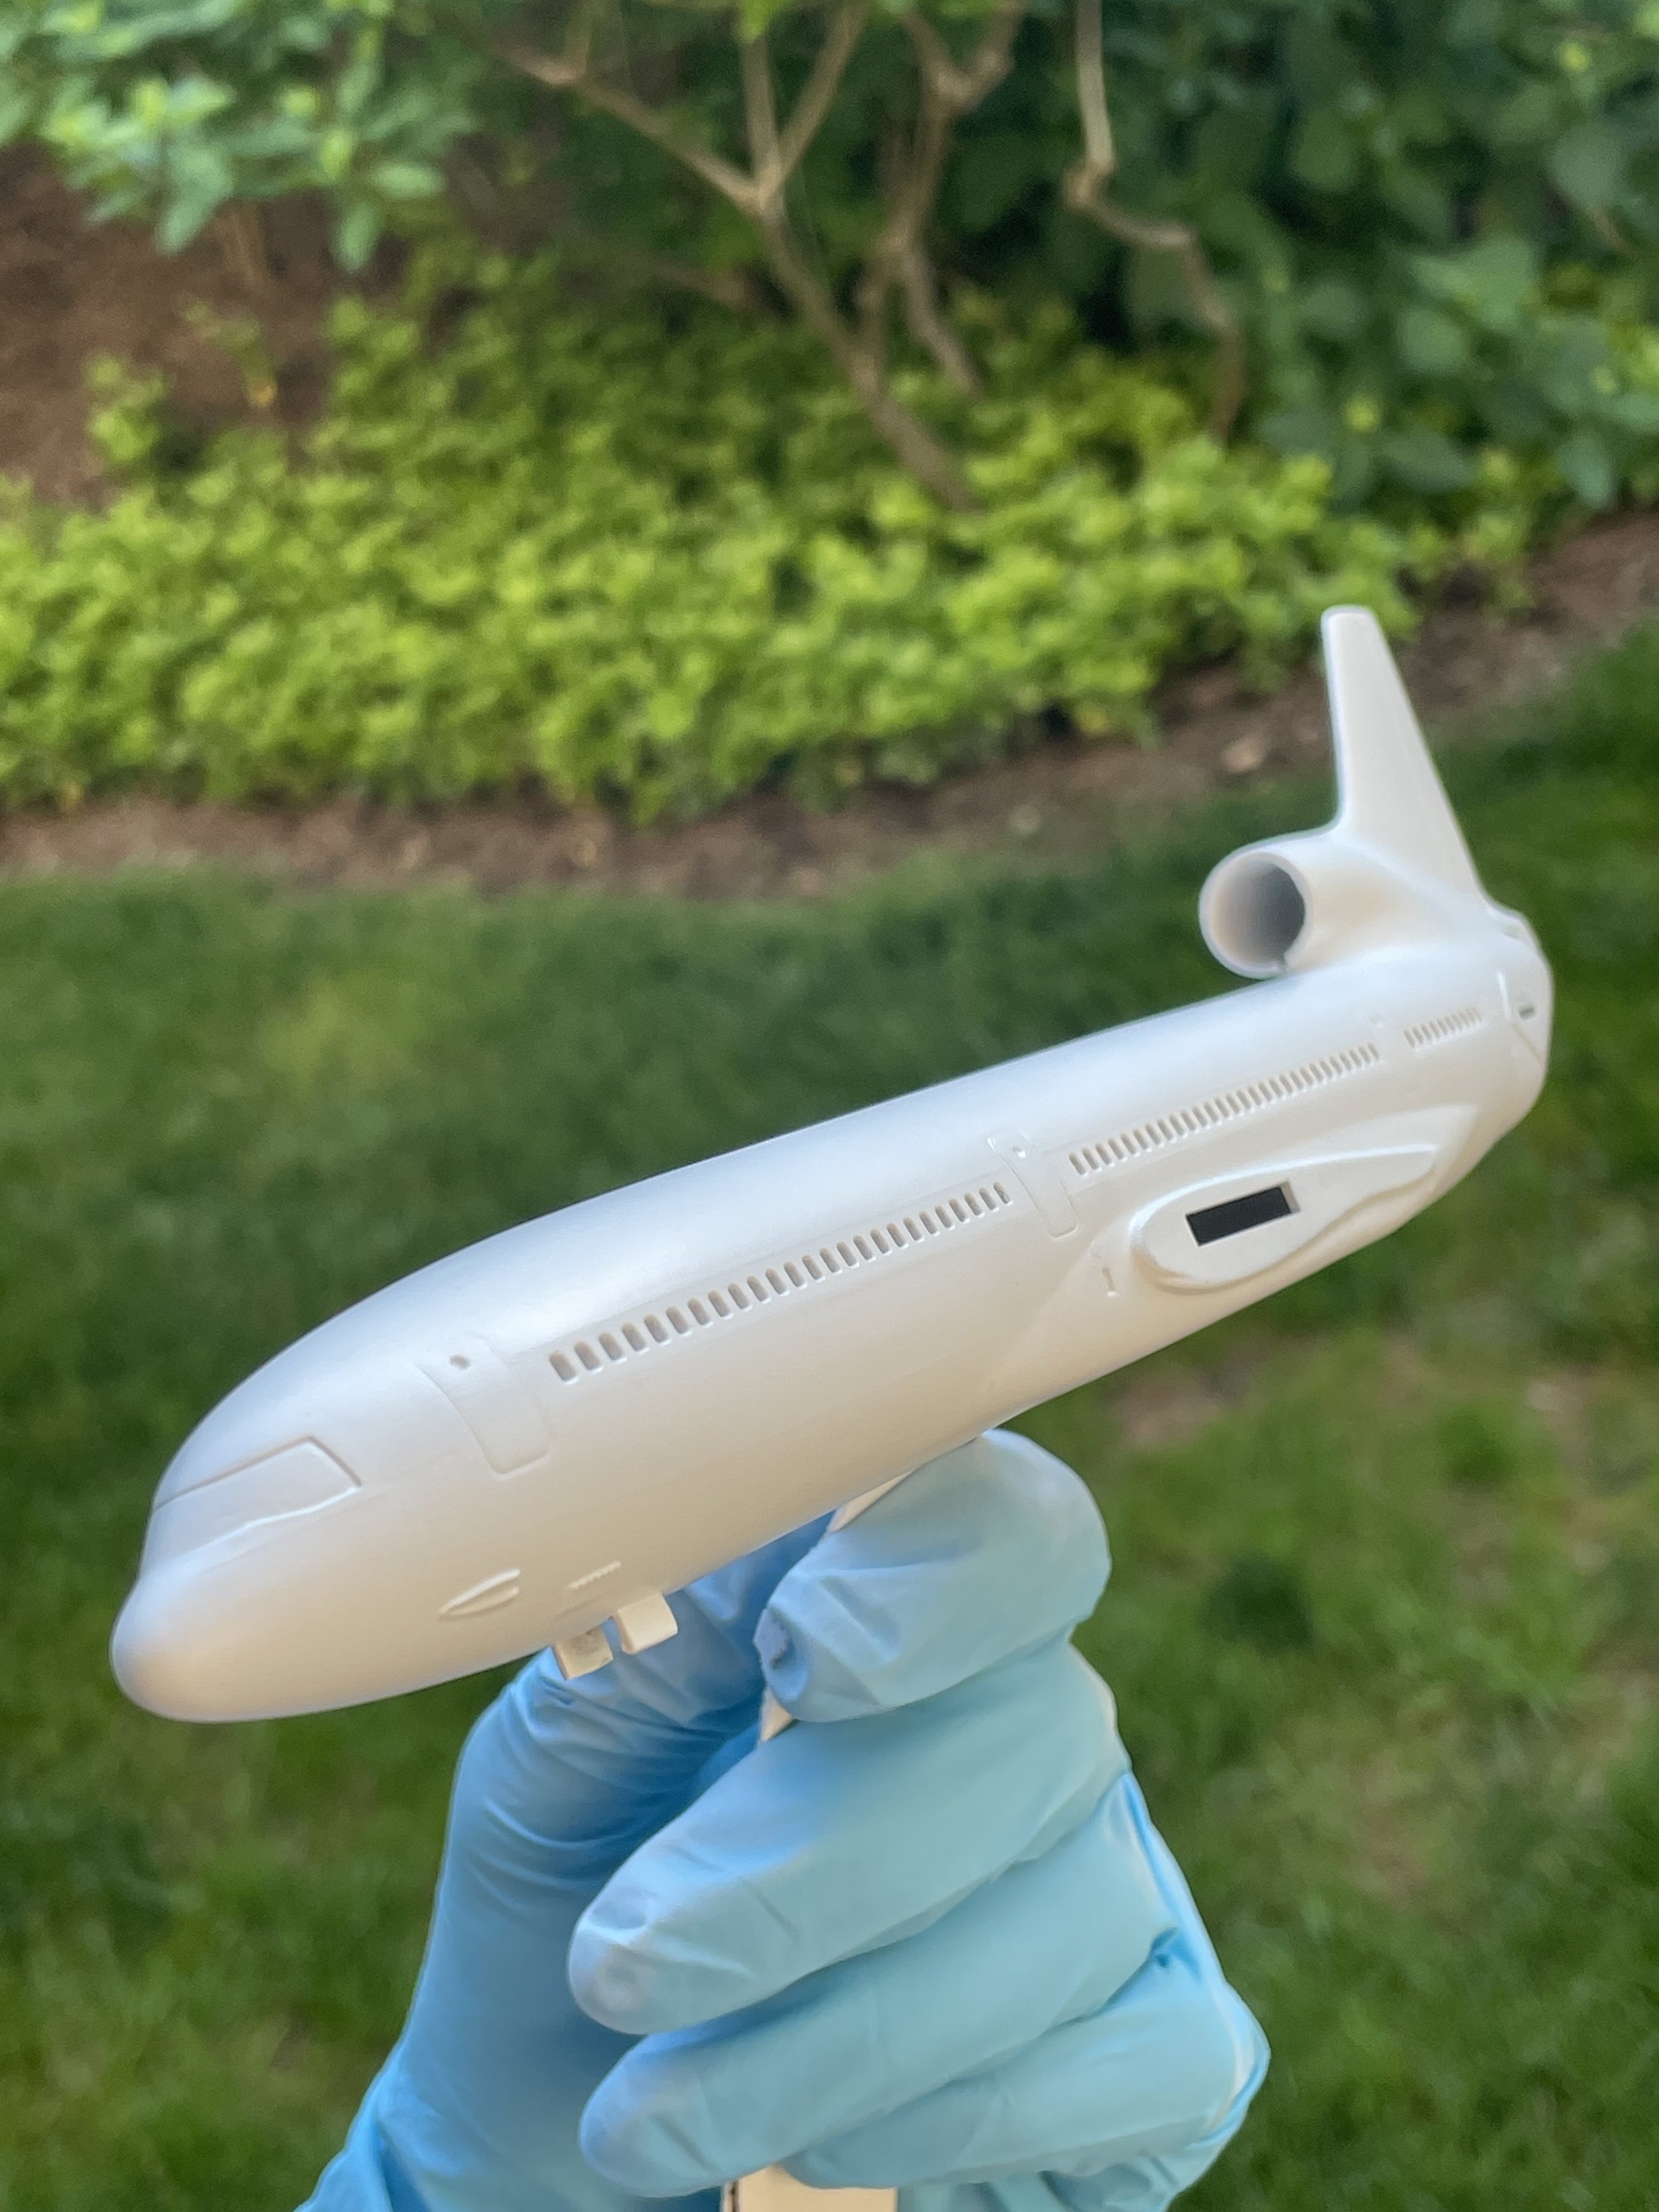
The fuselage was stripped of paint with thinner and sanding. This photo was taken after 2-3 rounds of primer spraying, sanding, and filling, before I got the kit smooth and seamless.
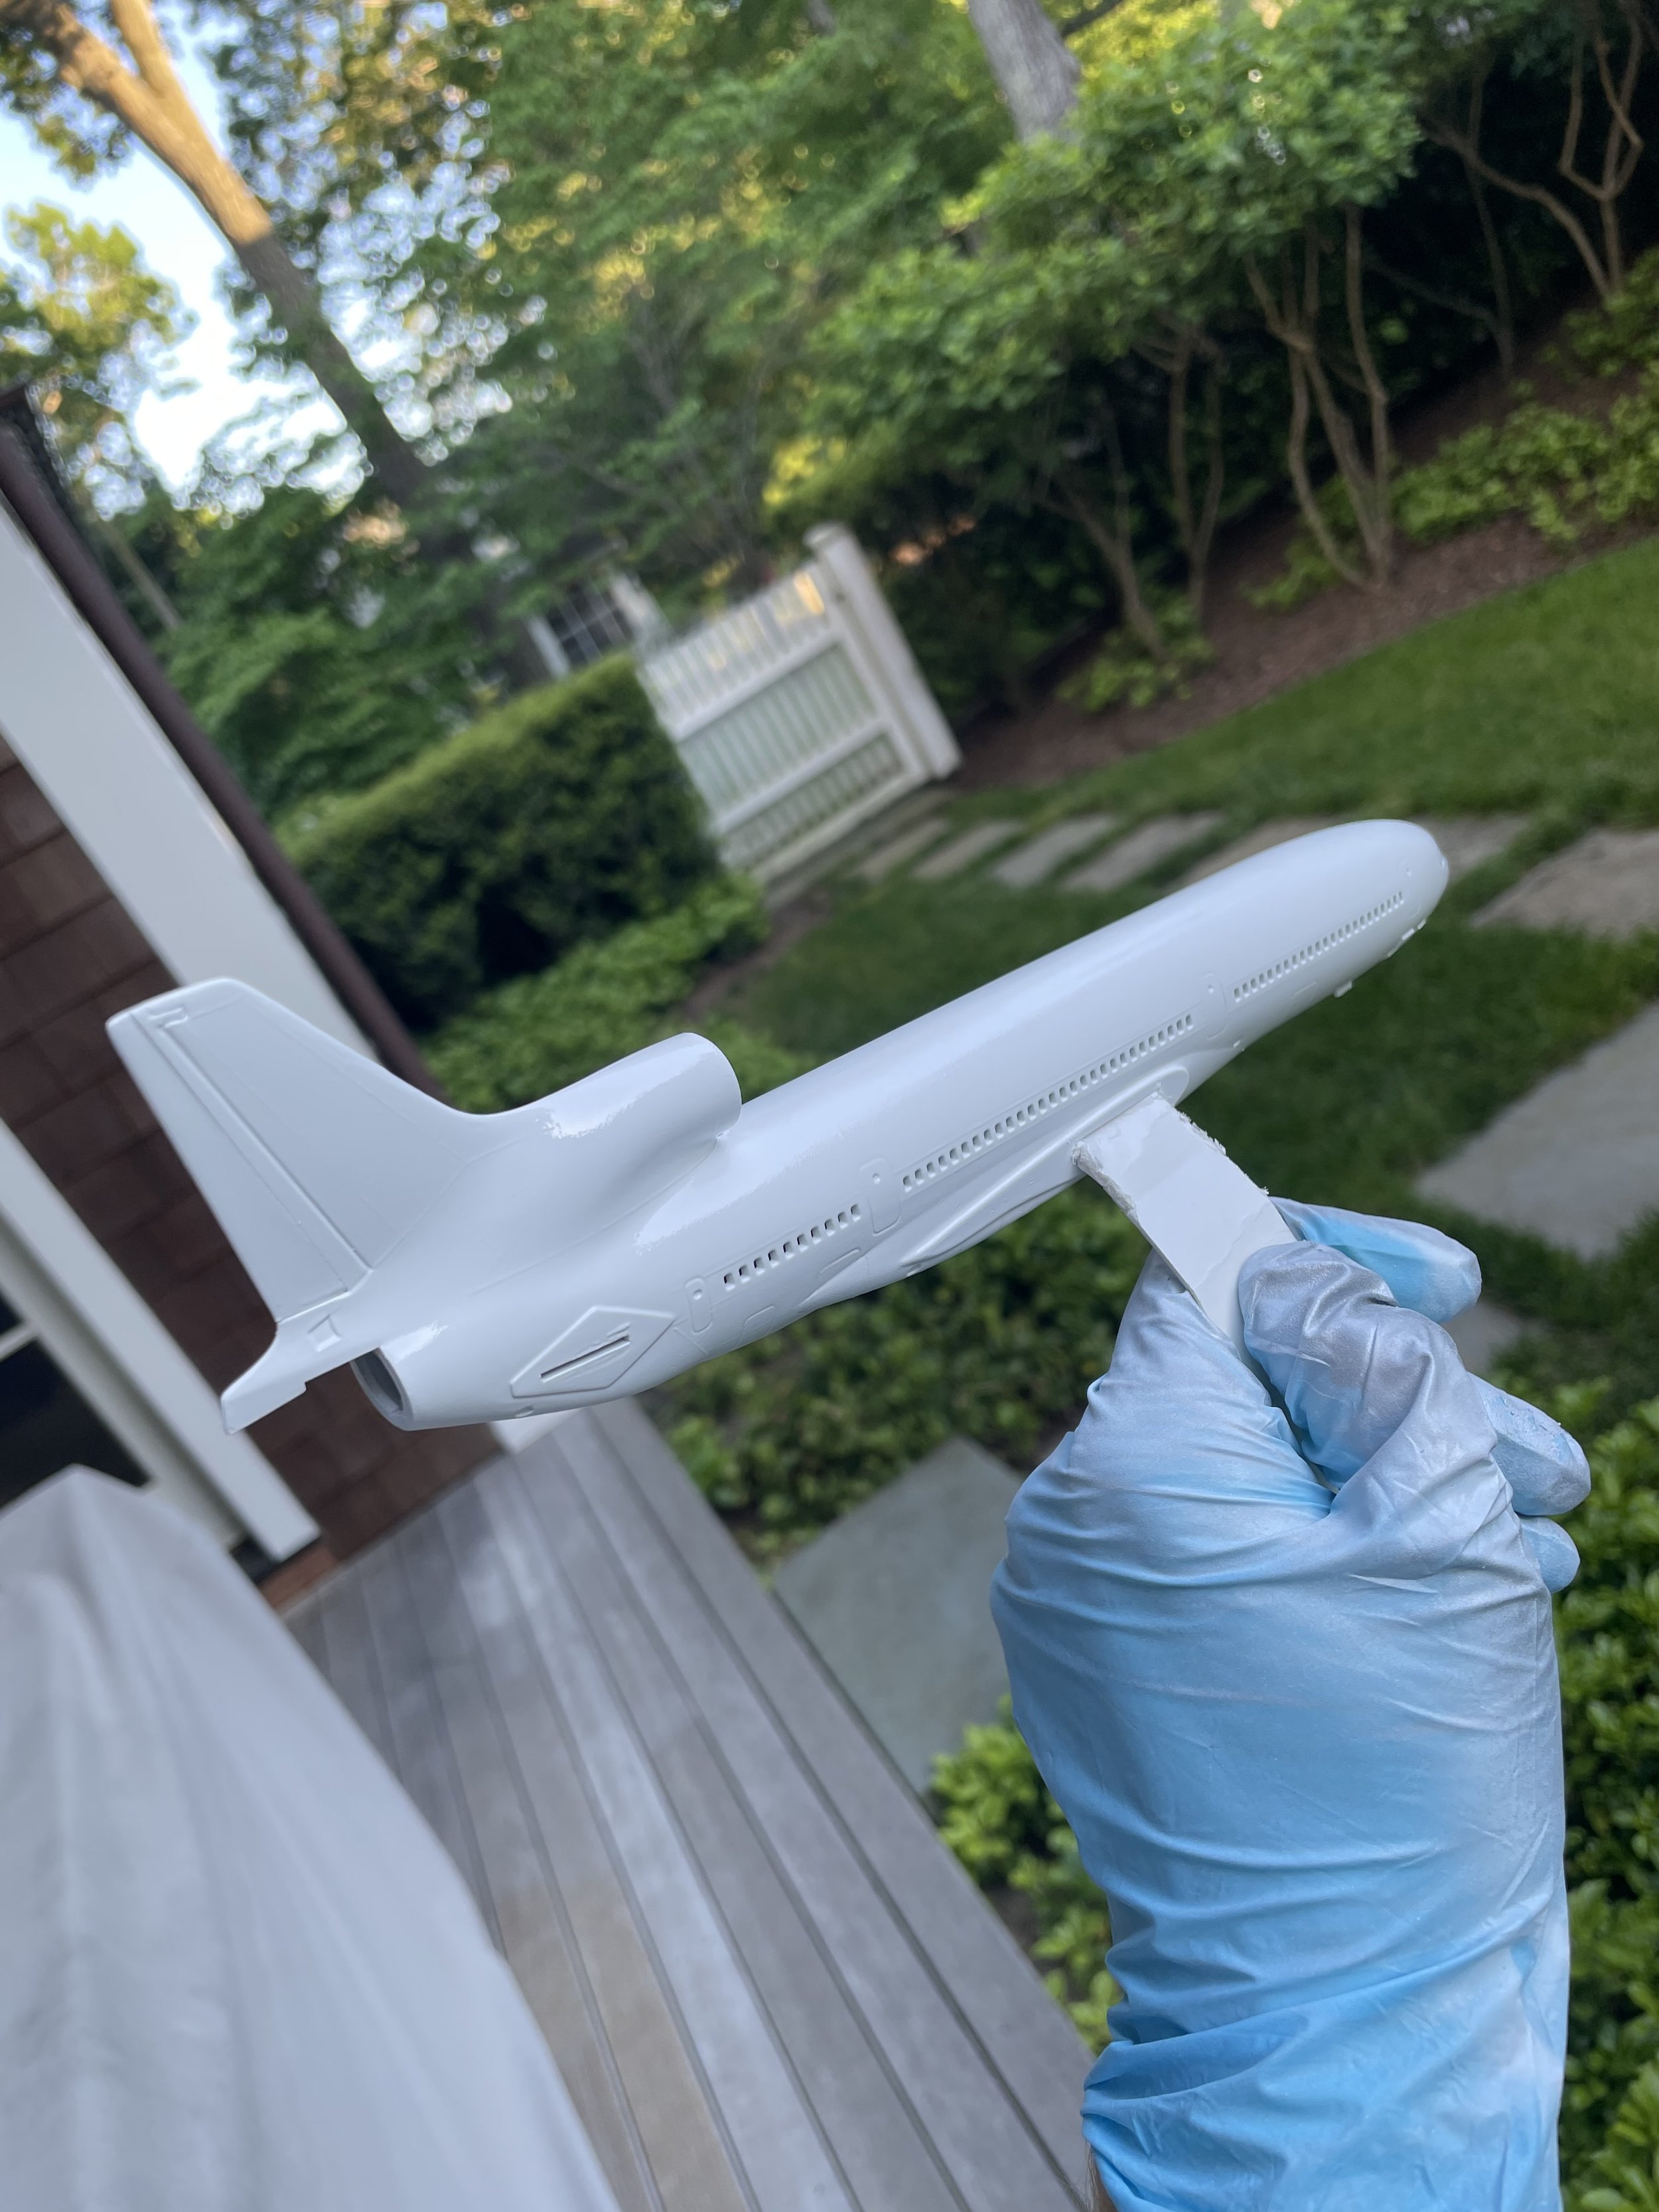
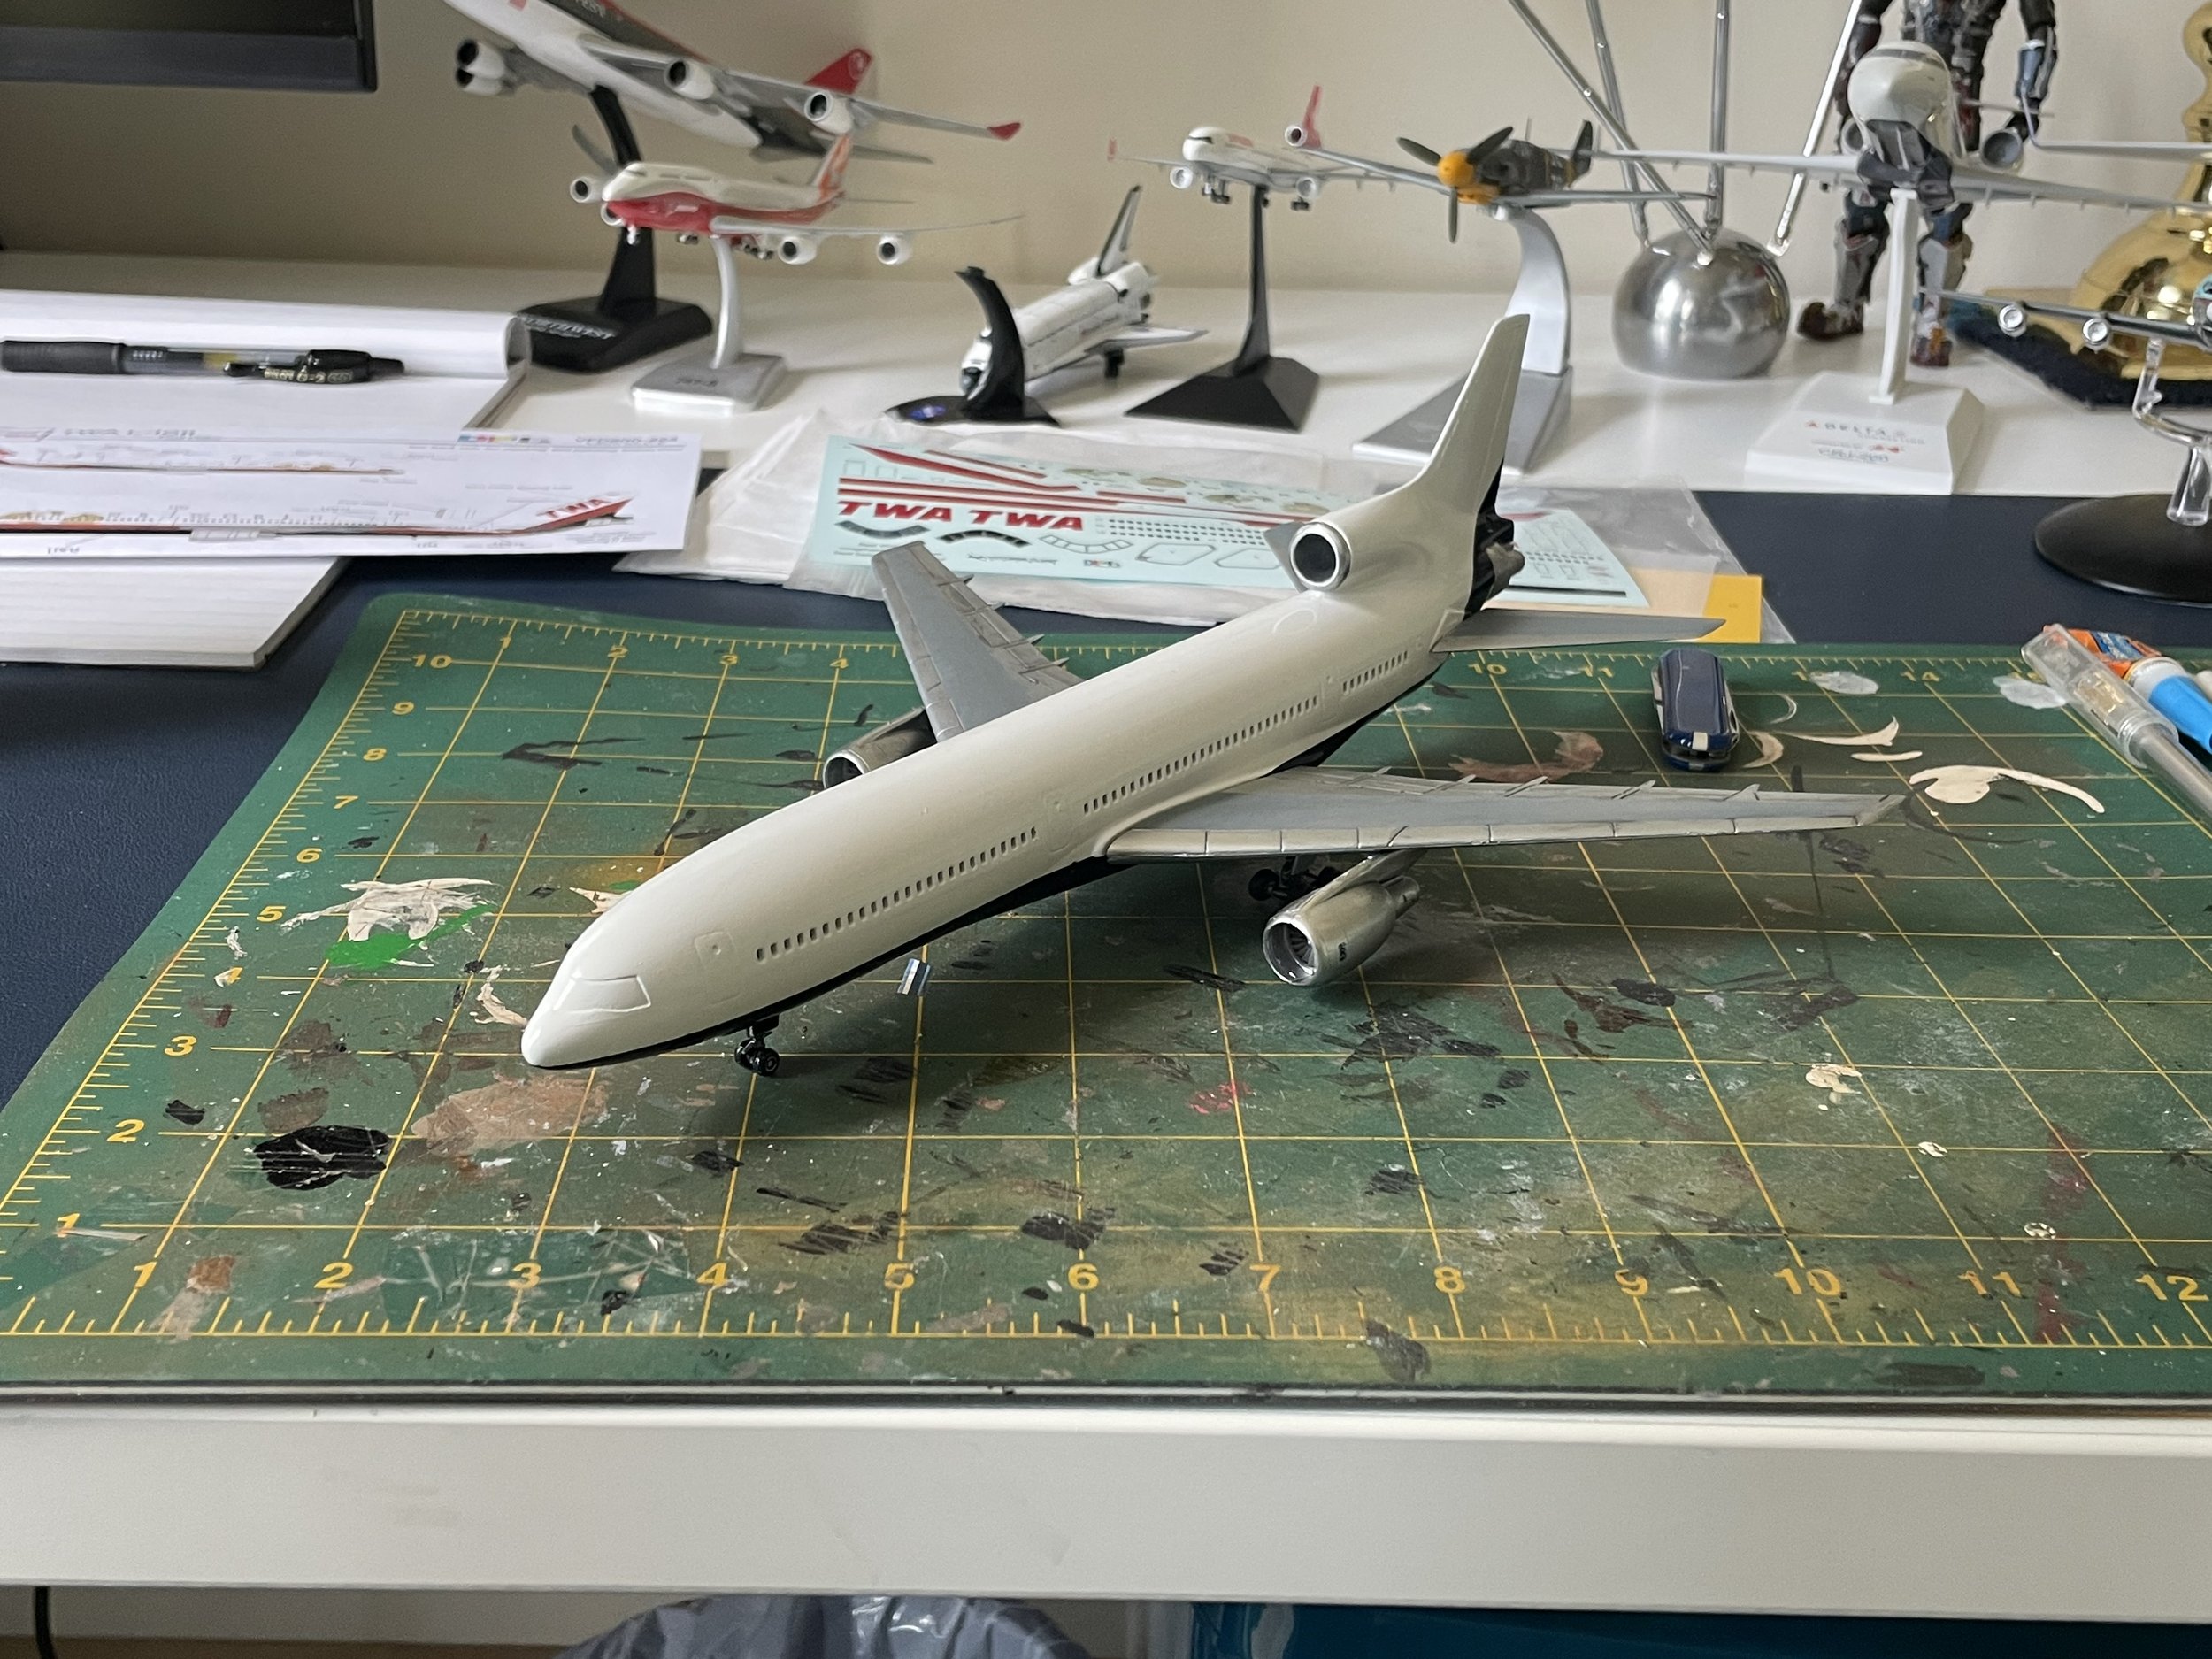
After a fresh coat on euro white paint.
And on goes the clear coat!
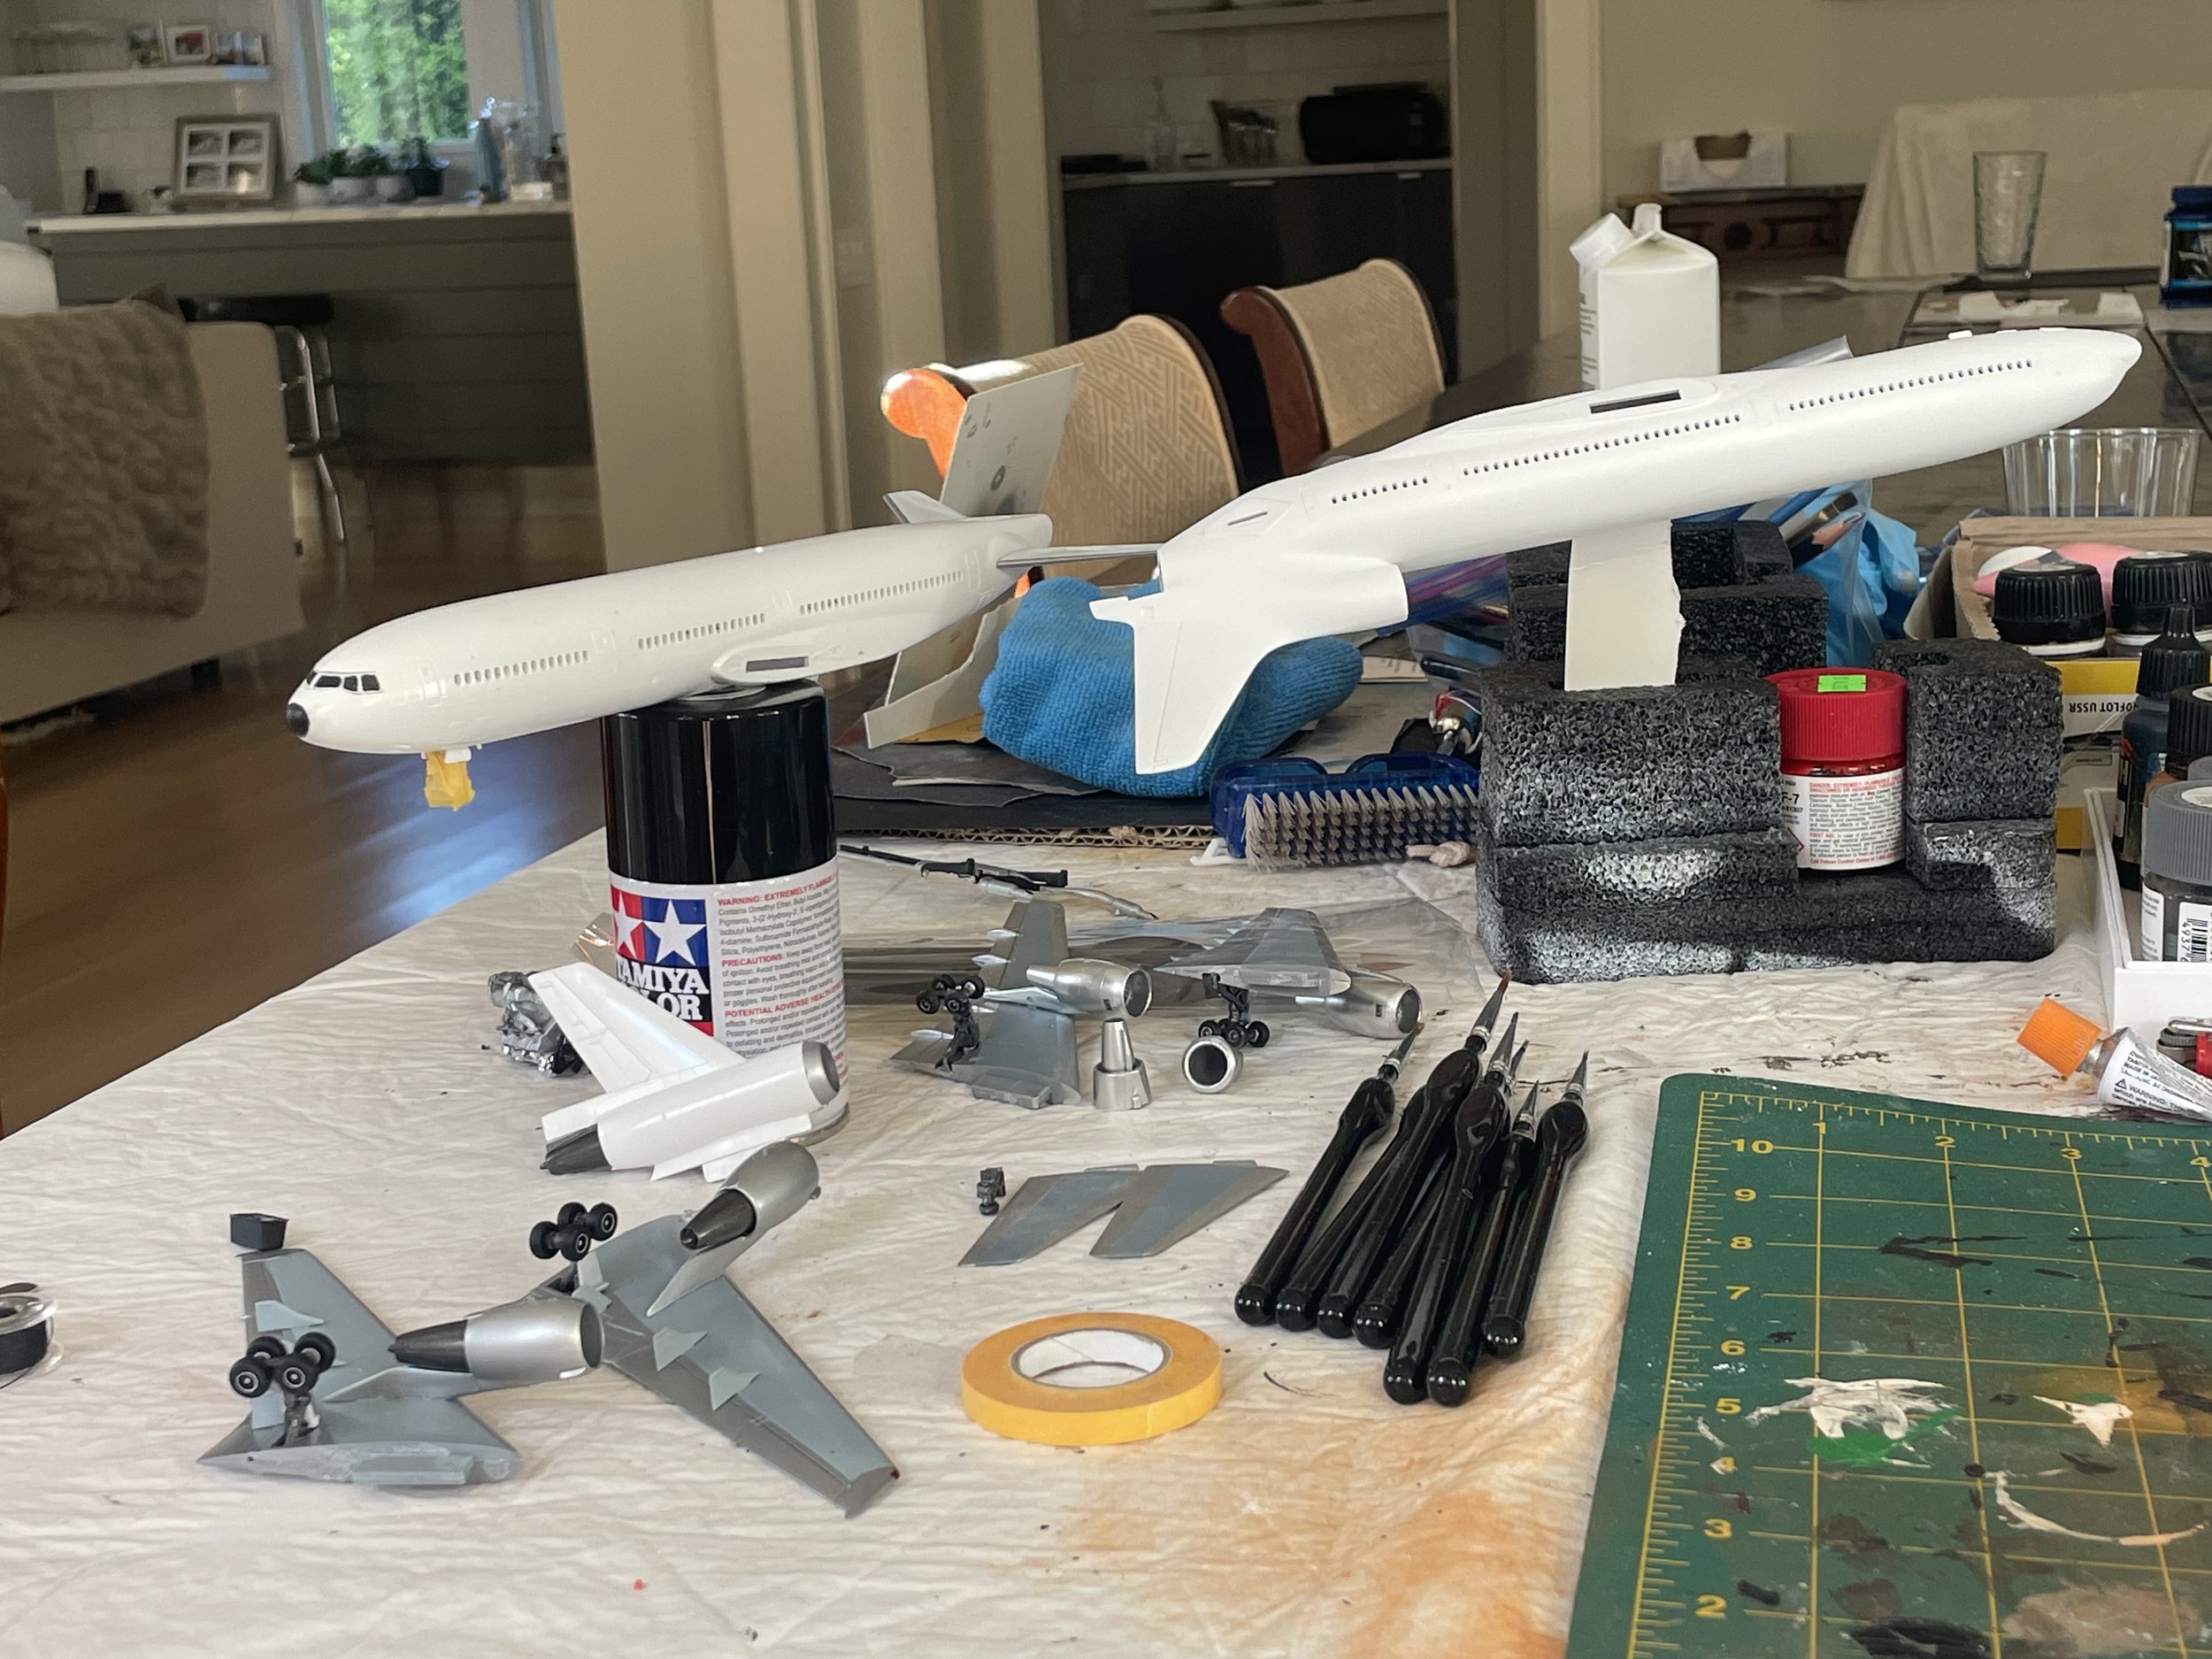
At the workshop! External parts like wings, stabilizers, and landing gear are repainted, cleared, and re-weathered. Note the DC-10 in the background, getting a restoration too.
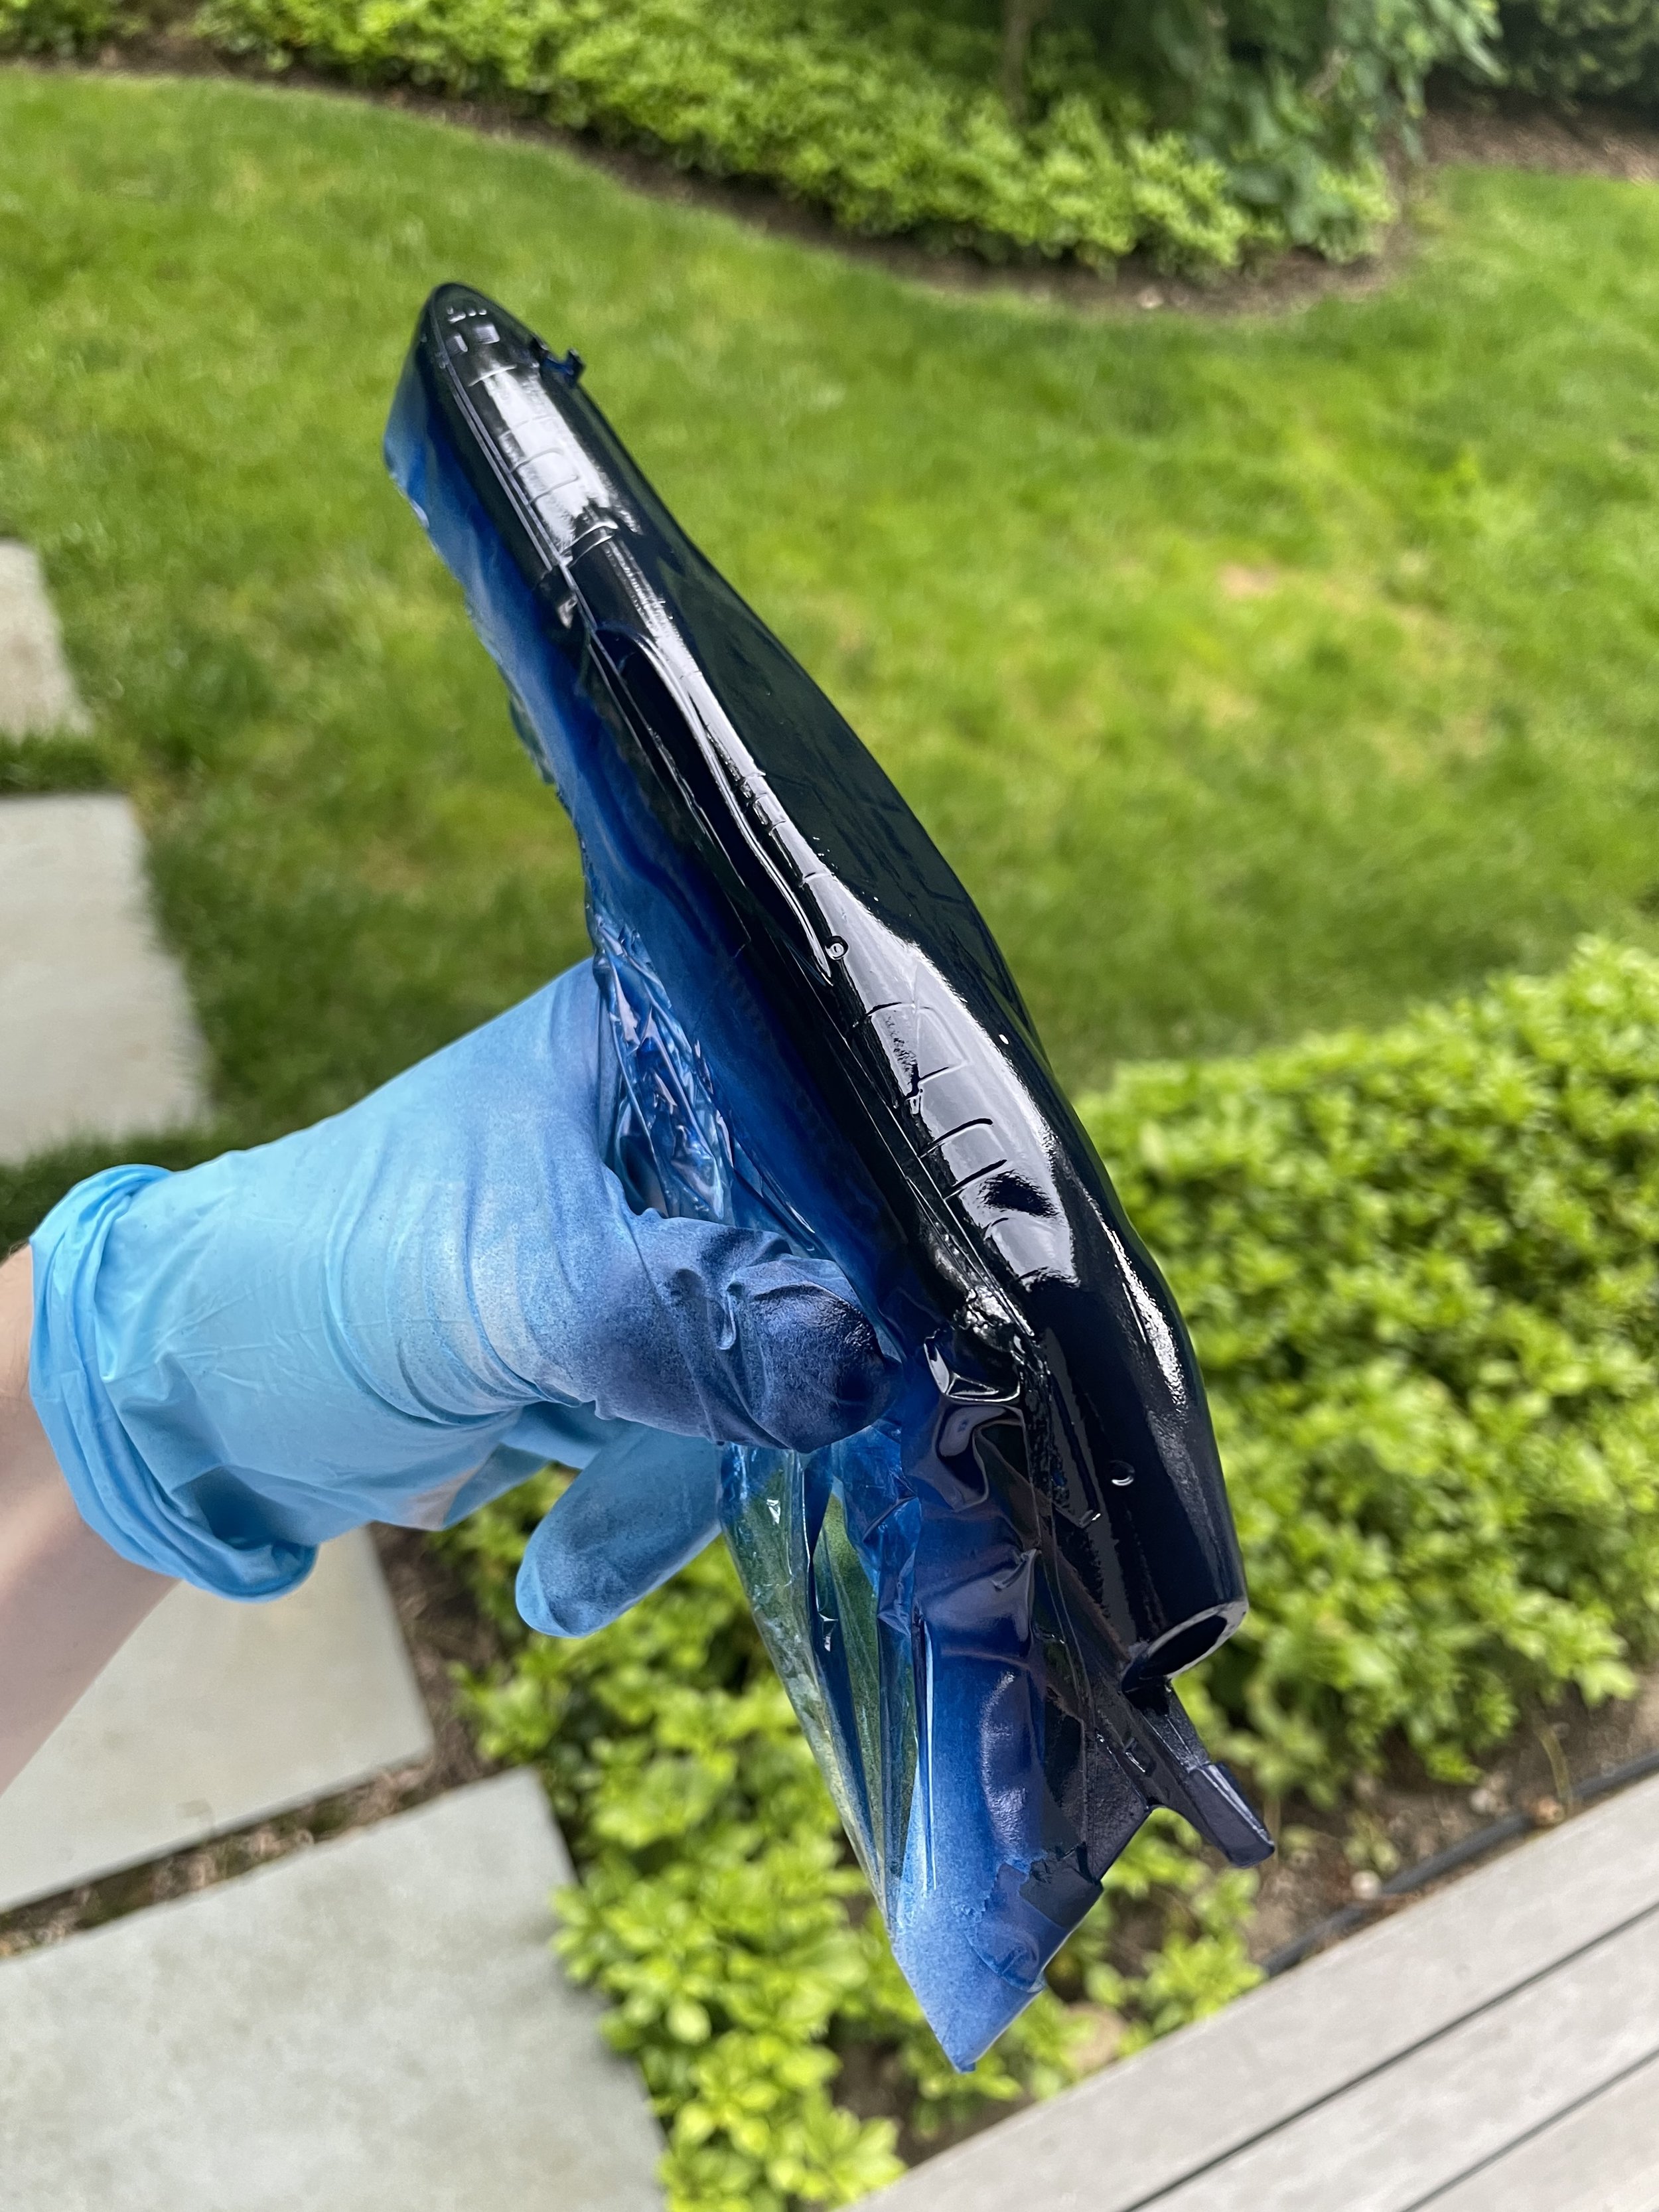
Fresh coat of navy blue on the belly. Upgraded the livery into the final TWA livery.
Aircraft is cleared again, and all ready for decal application.
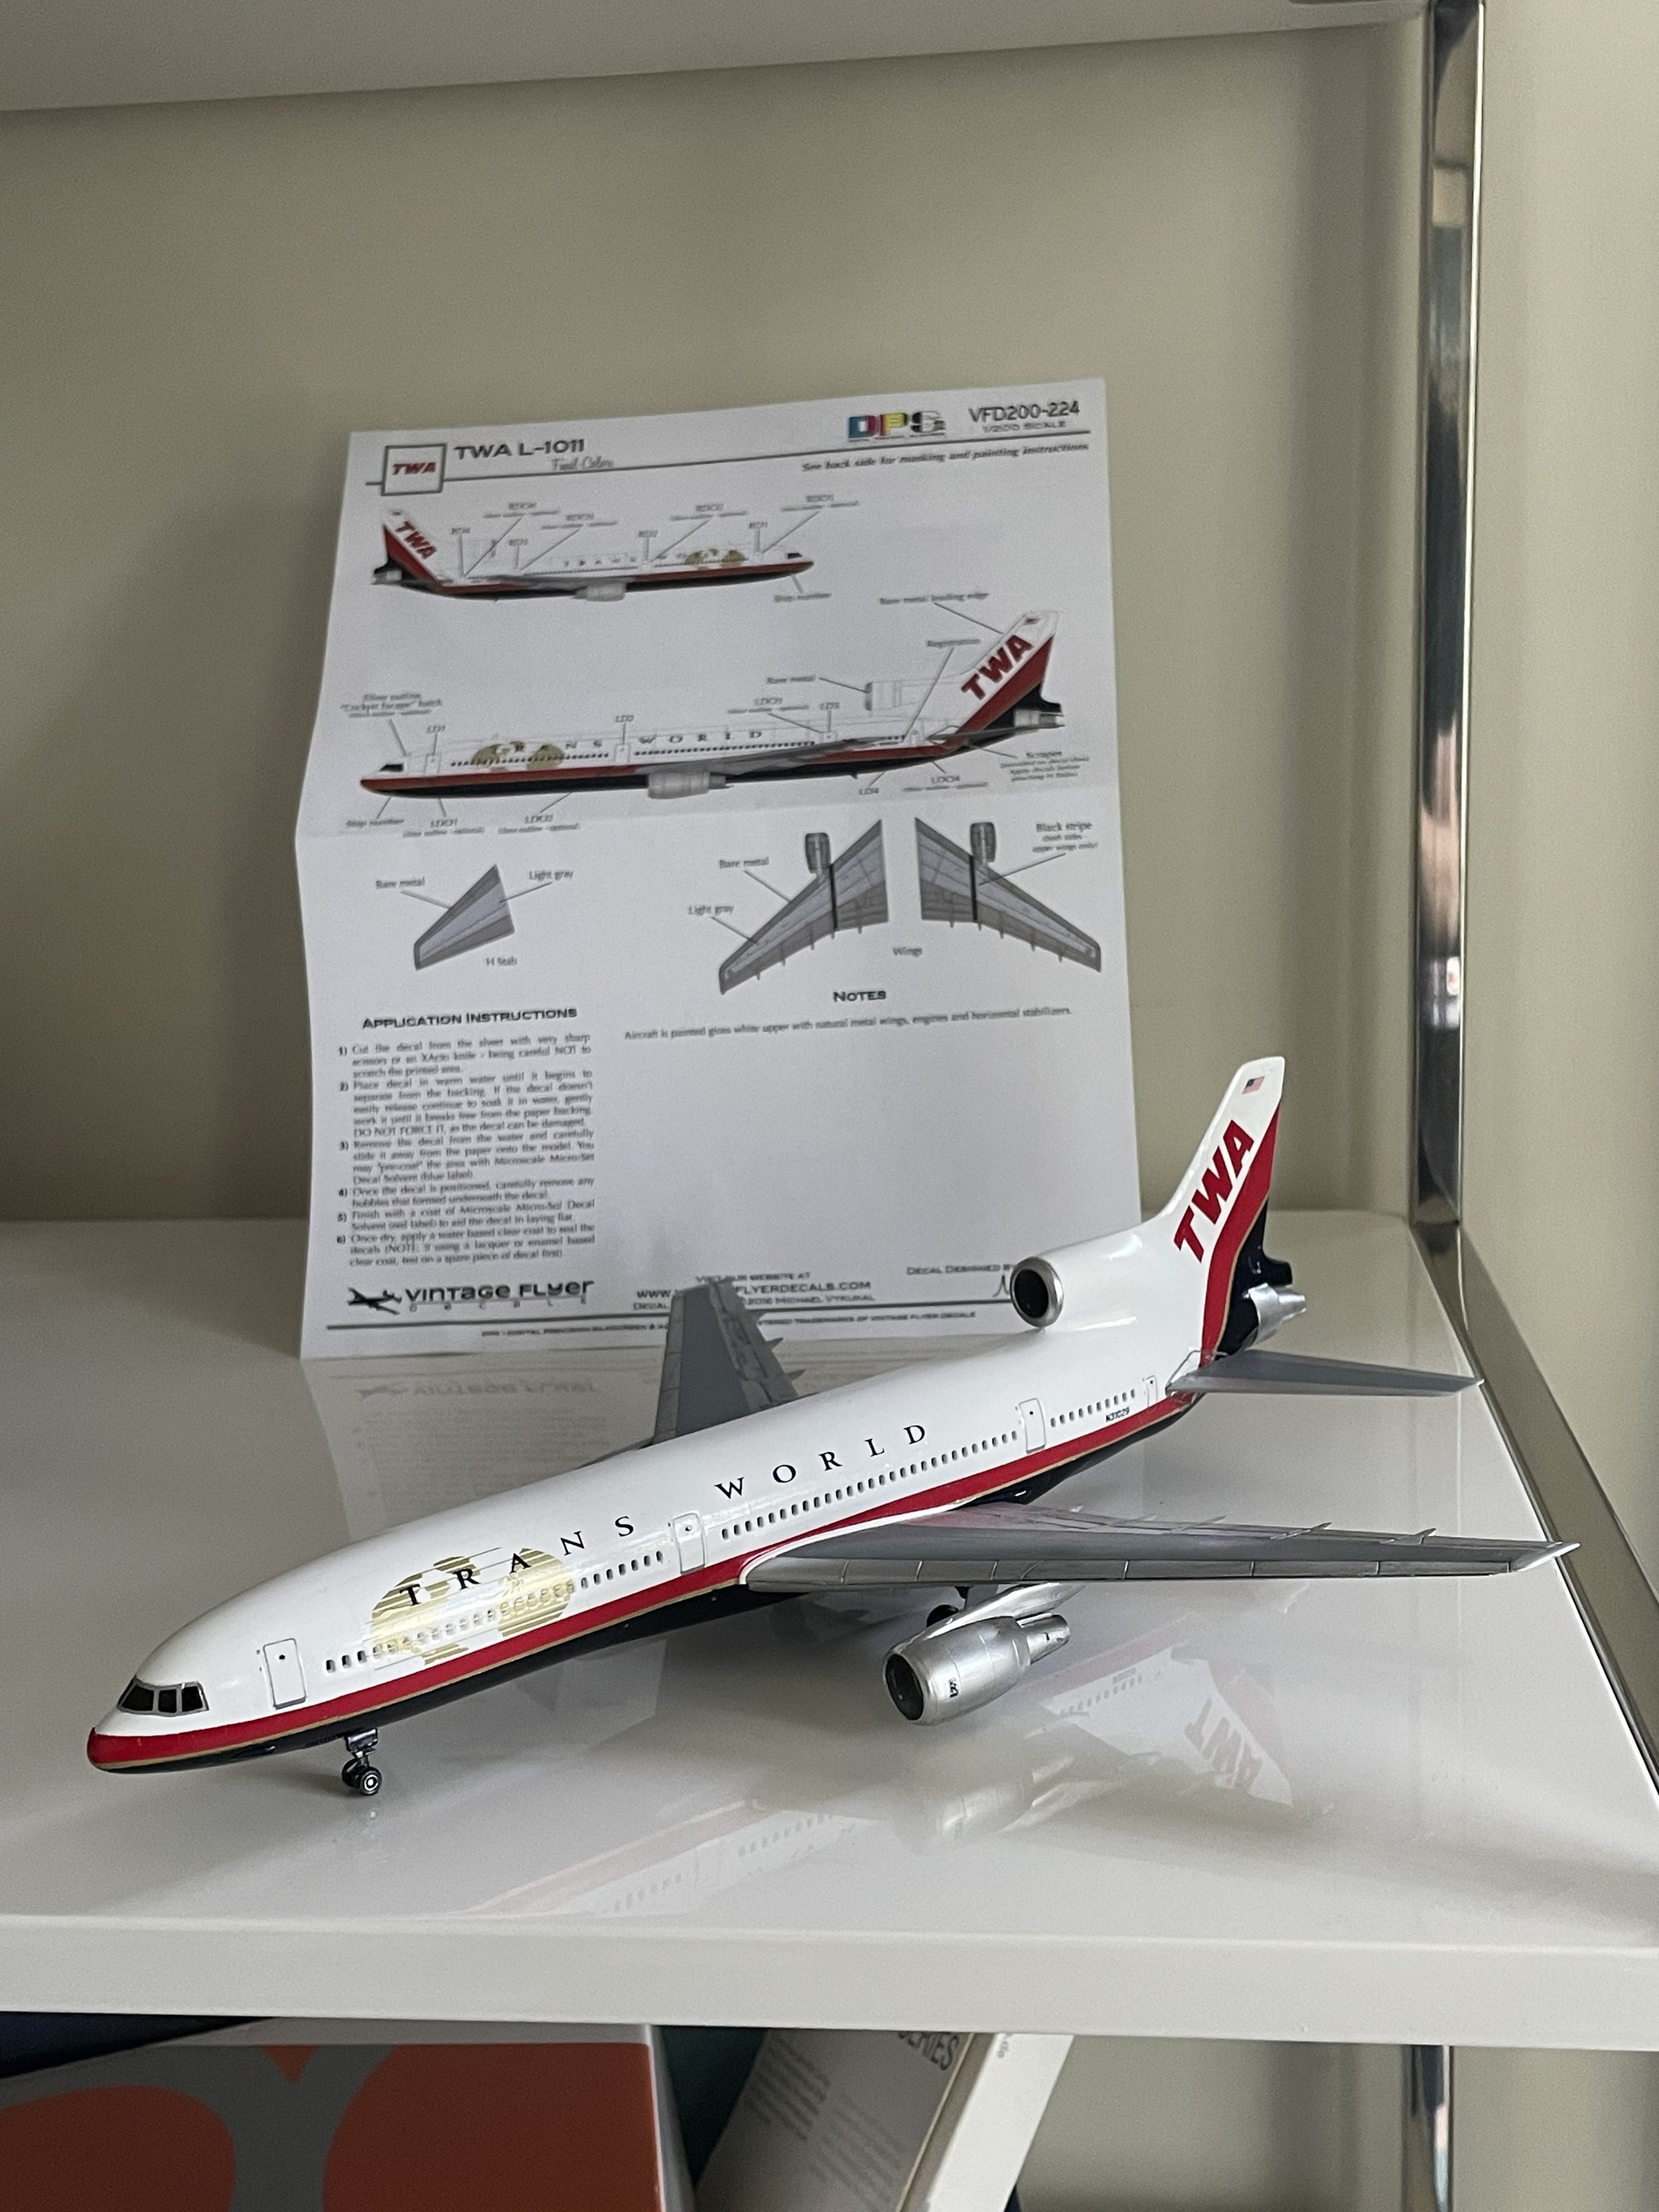
I purchased brand new laser printed decals form Vintage Flyer Decals instead of using the old decals like the ones the came with the kit. This was I got superior quality that would last a long time, and it allowed me to give the plane a new look, just like the real TWA Tristars would have gotten when they got repainted in the early to mid 1990’s.
All complete! Super happy with how this came out, total night and day difference!
Before and After (2019-2025)
Before and after (2025)
Before and After (2025)


